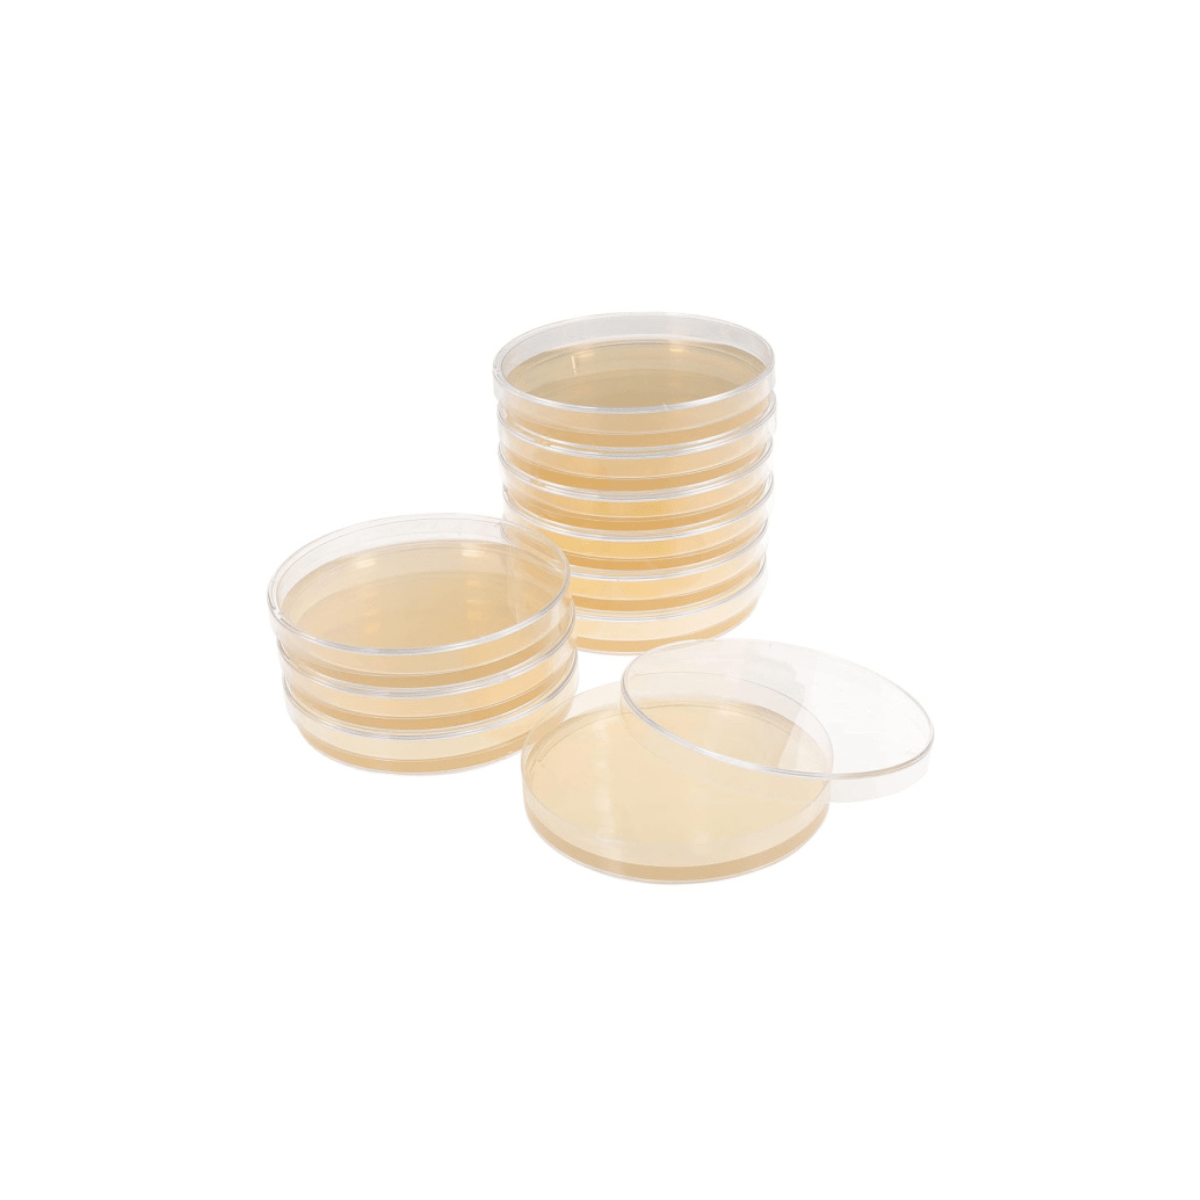
Nutrient Agar Plate - Pk 10
MM-M00575-PK10
Vendor: SmartLabs
Couldn't load pickup availability
- Fast Nationwide Delivery
- 100% Quality Guaranteed
- Reliable & Secure Payments
Have a question about this product?
Send us a message and we'll get back to you.
A nutrient agar plate is a general-purpose solid growth medium used in microbiology to grow a wide range of non-fastidious (easy-to-grow) microorganisms, including bacteria and fungi.
Specialised media like MacConkey agar (which targets specific bacteria) or Potato Dextrose Agar (which targets fungi) contain ingredients that hold certain organisms back. Nutrient agar doesn't contain any inhibitors. It works like an "all-you-can-eat buffet" for general microbial life, which is why it's the most affordable, accessible and widely used agar in schools and colleges.
How It Works: The Simple Composition
Basic nutrient agar is formulated to supply the fundamental building blocks of life:
- Peptone (0.5%): Enzymatically digested animal protein that provides the organic nitrogen and amino acids bacteria need for cell repair and replication.
- Beef extract or yeast extract (0.3%): Provides water-soluble vitamins, carbohydrates and trace minerals that fuel bacterial metabolism.
- Sodium chloride (0.5%): Keeps the osmotic balance so the pressure inside the bacterial cells matches the agar outside, which stops the cells bursting.
- Agar (1.5%): A gel made from marine red algae. It has no nutritional value and the bacteria can't feed on it, so it acts purely as a solid surface for colonies to grow on.
Because it safely grows everyday environmental organisms, nutrient agar is the base for most introductory school microbiology labs:
1. The Classic Hygiene Demonstration (Handwashing Labs)
Students touch their unwashed fingers to one side of a nutrient agar plate, wash their hands with soap, then touch the other side of the plate.
- The lesson: After incubation, the unwashed side shows thick patches of bacterial colonies, while the washed side shows far less growth. It's an instant visual way to teach how well soap and good hygiene work.
2. Surface Swabbing & Environmental Mapping
Using clean cotton swabs dipped in sterile water, students swab everyday objects, such as cell phones, doorknobs, computer keyboards or shoe soles, and streak them onto the plates.
- The lesson: Students see how much life there is around them. They learn to identify colony morphology (differences in colour, edge shape, elevation and size) and work out which public surfaces carry the most microbes.
3. Teaching Aseptic Technique
Before moving on to more complex studies, students use nutrient agar to practise the basic physical skills of microbiology.
- The lesson: Students practise sterilising an inoculating loop in a Bunsen burner flame, opening Petri dishes at a protective 45-degree angle and using the "quadrant streak method" to separate a crowded smear of bacteria into isolated, pure single colonies.
4. Testing Antibacterial Products (Kirby-Bauer Light)
Students coat a nutrient agar plate completely with a harmless liquid bacterial culture to create an even "lawn" of growth. They then place paper discs soaked in different household antimicrobials (like mouthwash, hand sanitiser, garlic juice or antibiotics) onto the plate.
- The lesson: If the substance kills or stops the bacteria, a clear ring (zone of inhibition) forms around the disc. Students measure the diameter of these rings to rank how strong each antibacterial product is.
Standard Lab Disposal Reminder
Nutrient agar grows low-risk, everyday microbes, but growing millions of them in one small space still creates an exposure risk. Once school experiments are finished, submerge the plates in a 10% household bleach solution for at least 60 minutes, or autoclave them at 121°C for 20 to 30 minutes, before throwing them away in normal rubbish bags.
DANGER: DO NOT USE ALCOHOL TO DISPOSE OF AGAR PLATES
If you don't have an autoclave, a 10% household bleach (sodium hypochlorite) solution will chemically destroy the cultures.
- Gear up: Put on gloves, safety goggles and a lab coat. Work in a well-ventilated room.
- Mix the solution: Mix 1 part household bleach to 9 parts water.
- Cover the plates: Carefully open the Petri dishes and pour the bleach solution over the cultures, making sure the liquid covers the whole agar surface.
- Soak time: Leave the plates undisturbed for at least 60 minutes.
- Drain and discard: Pour the bleach down the lab sink with plenty of cold running water. Put the bleached agar and plastic Petri dishes into a heavy-duty rubbish bag, tie it securely and place it in the regular waste.