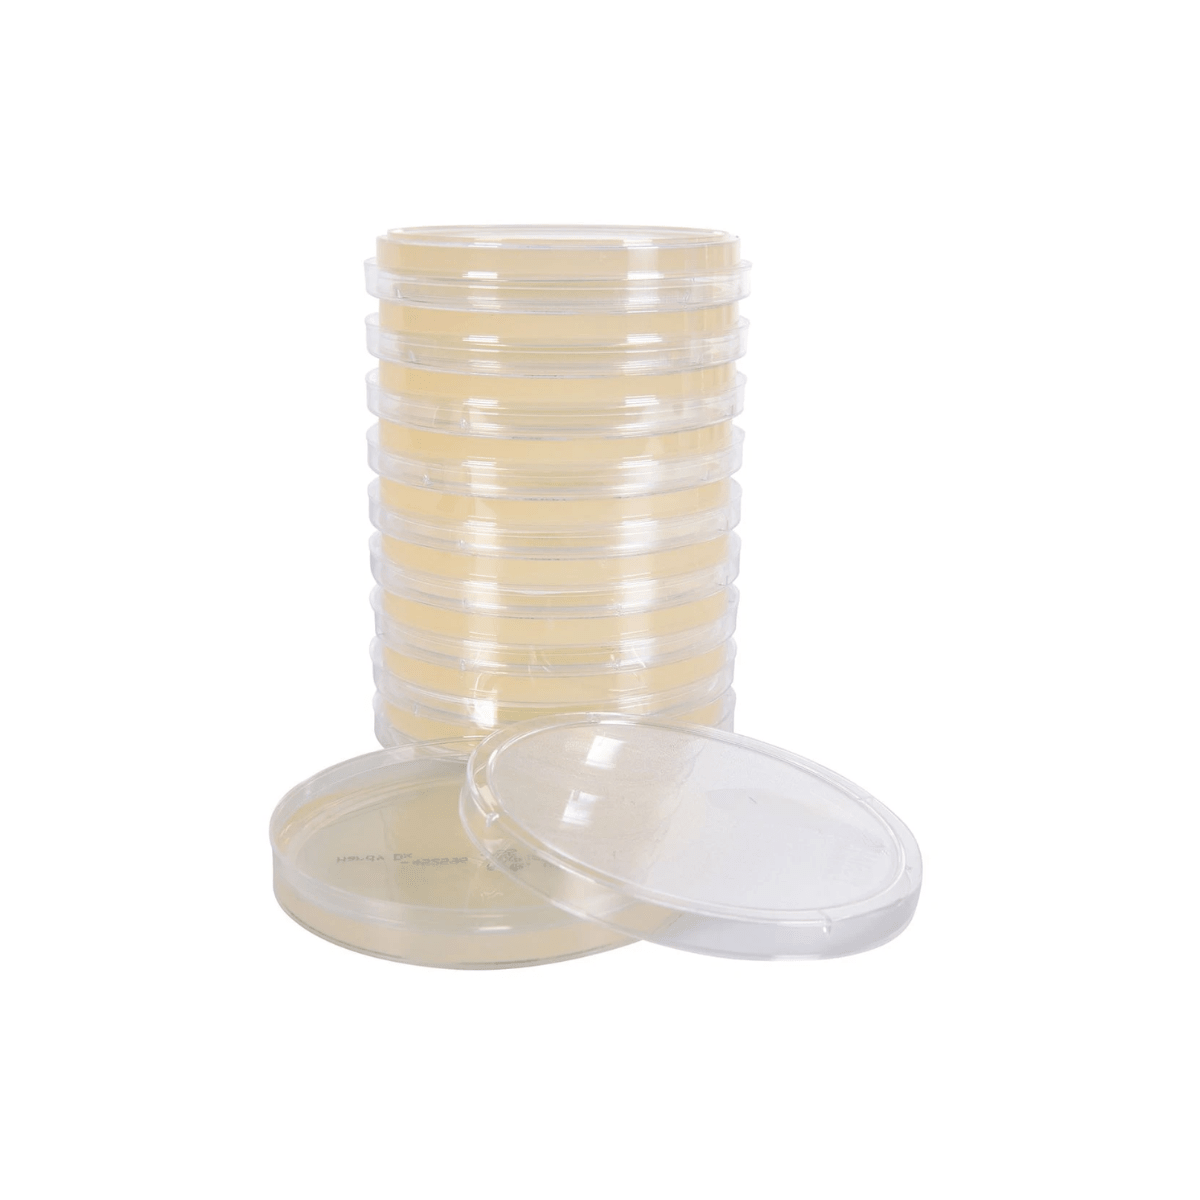
Potato Dextrose Agar - Pk 10
MM-M00600-PK10
Vendor: SmartLabs
Couldn't load pickup availability
- Fast Nationwide Delivery
- 100% Quality Guaranteed
- Reliable & Secure Payments
Have a question about this product?
Send us a message and we'll get back to you.
Potato Dextrose Agar (PDA) is the standard growth medium used in high school science labs to grow, observe and study fungi, moulds and yeasts.
General bacteria are usually grown on nutrient agar, but high school biology switches to PDA when the focus moves to the fungal kingdom. PDA is rich in potato starch and dextrose (sugar), which gives fungal spores the high-carbohydrate environment they need to germinate quickly into large, fuzzy, colourful colonies.
1. Air Quality Testing
This is one of the classic school science experiments. Students test the invisible load of microbes floating in the air.
- The experiment: Students place PDA plates in different spots around the school (for example the cafeteria, the change rooms, the library or outside) and leave the lids off for 15 to 30 minutes. The plates are then sealed and incubated.
- The lesson: Over a few days, fungal spores that landed on the agar grow into colourful, velvety circles. Students count and compare the colonies to work out which areas have the highest spore counts or the best ventilation.
2. Testing Antifungal Agents & Cleaners
Students test how well household products stop mould growing.
- The experiment: A PDA plate is evenly swabbed with a specific mould spore. Students then place small paper discs soaked in different treatments, such as tea tree oil, vinegar, commercial bleach or antifungal creams, onto the agar.
- The lesson: If a treatment works, a clear ring called a "zone of inhibition" forms around the disc where no mould can grow. Students measure these rings to find out which household product is the most effective antifungal.
3. The "Mouldy Food" Biology Lab
Instead of just looking at mouldy bread in a plastic bag, students look at the microscopic structures causing the rot.
- The experiment: Students touch a sterile swab to a piece of mouldy fruit or bread, streak it onto a PDA plate and let it grow.
- The lesson: Once the mould grows on the clean, flat agar, students can lift a sample with clear tape and view it under a compound microscope. This lets them identify fungal structures like hyphae (root-like threads) and sporangia (the spore-bearing heads).
Why PDA Is Popular in High School Labs
- Striking results: Bacteria usually look like small, boring white or yellow dots. Moulds grow into large, fuzzy structures in bright greens, deep blacks, yellows and whites.
- Naturally selective: PDA's high sugar content favours fungi over bacteria. Teachers can also buy "acidified PDA", which has a lower pH. The acid stops common classroom bacteria growing at all, so students only grow the moulds they want to study.
- Safety profile: Most everyday environmental moulds collected on PDA plates are relatively low-risk (Biosafety Level 1), which makes them safer and less intimidating for teenagers to handle than targeted bacterial strains.
(Note: Just like MacConkey plates, once a PDA plate has been exposed and sealed, students should never reopen the lid, to avoid breathing in millions of concentrated fungal spores.)
DANGER: DO NOT USE ALCOHOL TO DISPOSE OF AGAR PLATES
Using isopropyl alcohol or ethanol to destroy or dispose of cultured PDA agar plates is dangerous, doesn't work and creates immediate laboratory hazards.
Potato Dextrose Agar (PDA) plates can't simply go in the bin. If a plate contains active moulds or yeasts, it counts as biohazardous laboratory waste and must be sterilised first. There are two ways to do this:
- Method 1: Autoclaving (heat sterilisation), the gold standard
- Method 2: A 10% bleach solution, the practical option for schools
If you don't have an autoclave, a 10% household bleach (sodium hypochlorite) solution will chemically destroy the fungal cells and spores.
- Gear up: Put on gloves, safety goggles and a lab coat. Work in a well-ventilated room.
- Mix the solution: Mix 1 part household bleach to 9 parts water.
- Cover the plates: Carefully open the Petri dishes and pour the bleach solution over the mould or yeast colonies, making sure the liquid covers the whole agar surface.
- Soak time: Leave the plates undisturbed for at least 60 minutes. Fungal spores can be very resilient, so don't cut this short.
- Drain and discard: Pour the bleach down the lab sink with plenty of cold running water. Put the bleached agar and plastic Petri dishes into a heavy-duty rubbish bag, tie it securely and place it in the regular waste.